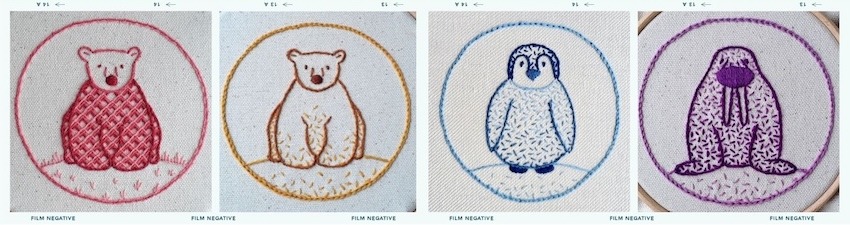
Do you ever feel stuck for ideas on what to do with your finished embroidery? How about turning it into a beautiful embroidered ornament to hang somewhere special?
I’ve turned some of my embroideries into hand made ornaments for the Christmas tree. Although I must admit that I like most of them so much, that they end up hanging from a door or hook all year round!
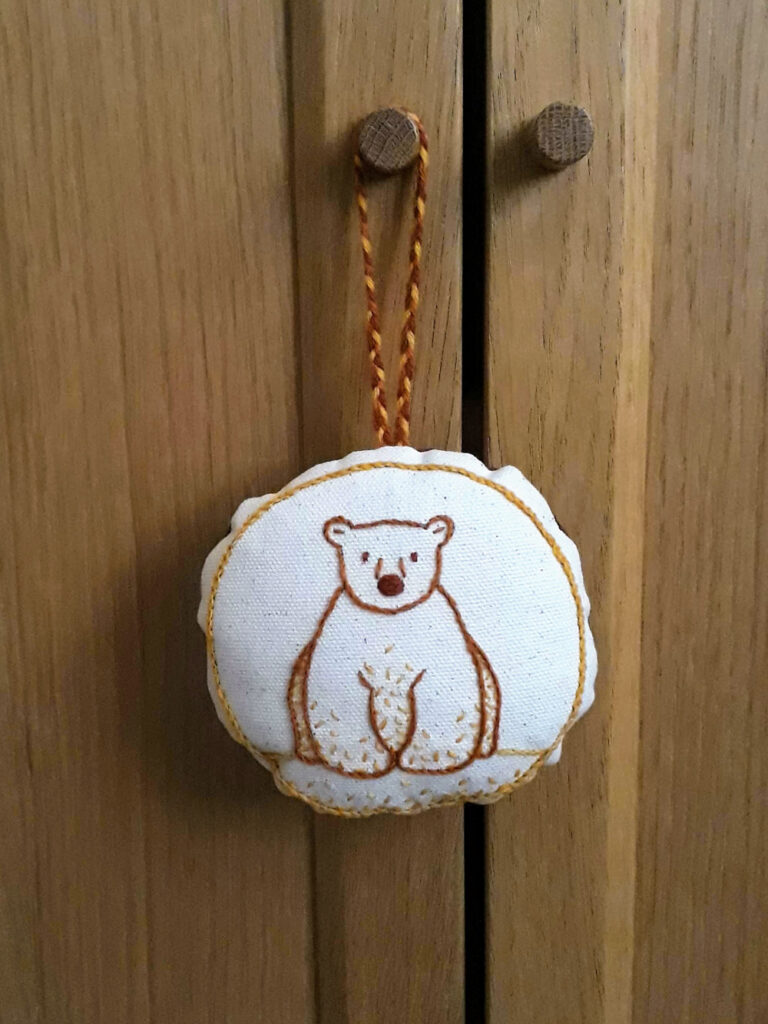
For this tutorial, I’m going to be turning this embroidered bear into an ornament:
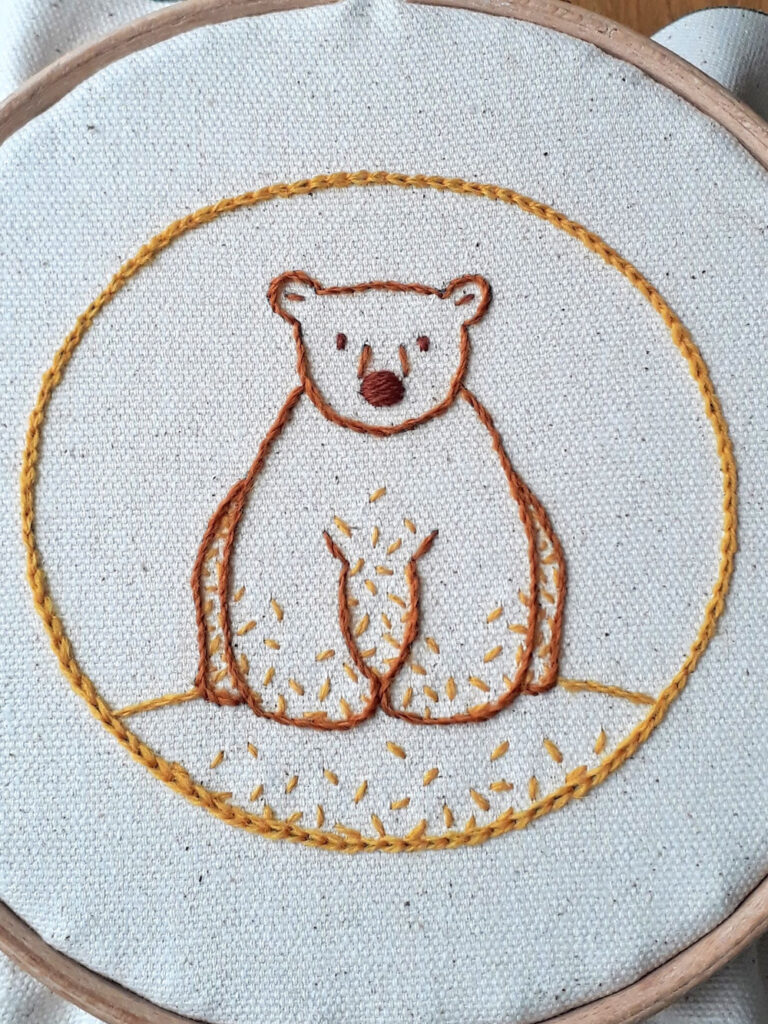
To stitch your own cute bear, grab the pattern here.
Or for extra guidance, including videos, this is one of the patterns included in my Introduction to Embroidery online course.
Let’s jump straight into the tutorial!
What you’ll need
- Your finished embroidery
- Fabric for the back of your ornament
- Some ribbon or extra embroidery thread
- Fabric scissors
- Regular sewing thread (I like Gutermann sew-all polyester thread)
- Hand sewing needle
- Sewing machine (optional)
- Toy filling
For your backing fabric, feel free to go for either a matching or contrasting colour or pattern. It’s all down to the look you want to create!
I’d generally advise using a backing fabric that’s a similar weight to the fabric you embroidered on. However, if you’ve got your eye on a finer fabric, you can always double up or line it with another fabric to give it more heft.
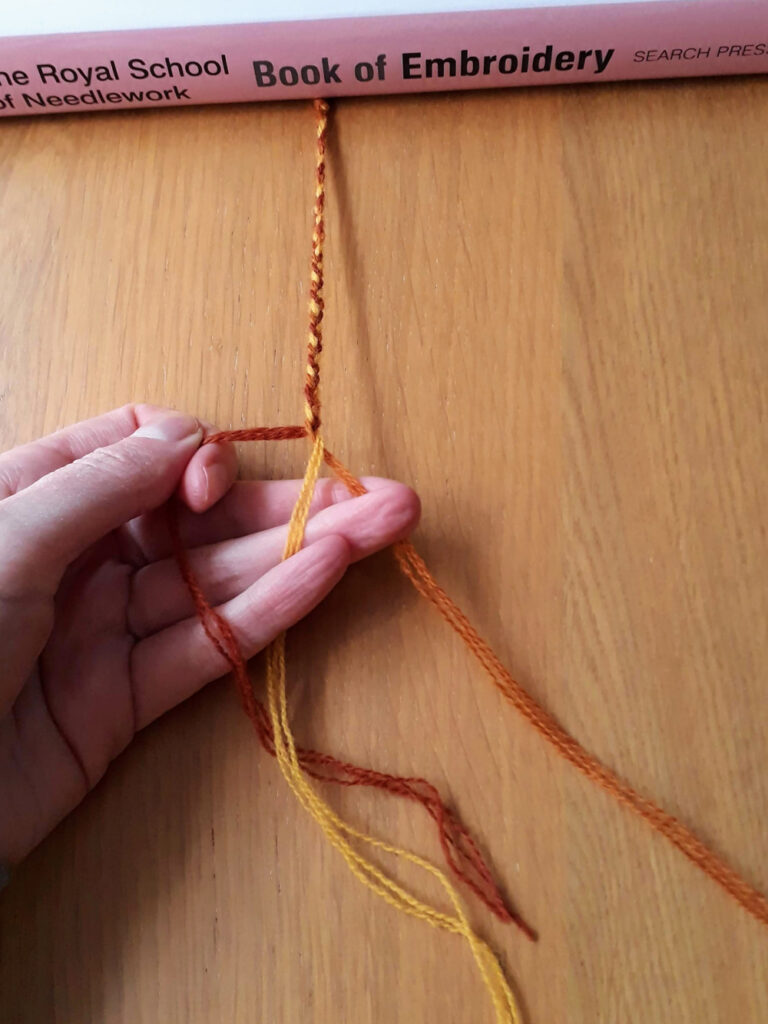
Since my embroidery design uses 3 shades of thread, I thought it’d be nice to make a plait with them for my hanging loop. To make this, I cut 3 lengths of each shade (so 9 lengths in total), tied them together with a knot at one end, plaited them, then tied a knot at the other end to secure.
Making your cutting template
First you’ll need to decide on the size and shape of your embroidery ornament.
I’m going to stick with the circular shape of my embroidery design.
To determine the size of your ornament, decide how much of the fabric around the edge of your embroidery you want to have visible.
Since my design has an embroidered border, I only want 1cm of fabric showing around the edge.
For sewing up my ornament, I like to use a 1cm seam allowance. So I add that to the size of my ornament for creating a cutting template. i.e. my cutting template will be a circle that’s 2cm bigger all around than my finished embroidery (1cm fabric showing + 1cm seam allowance). This equates to a circle with a diameter that’s 4cm bigger than the diameter of my embroidery.
Once you’ve created your cutting template or figured out the dimensions if it’s a square or rectangle, now’s a good time to double check it!
Think ‘measure twice, cut once’!
I double check my template by placing it over my embroidery to sanity check that it’s big enough. If in doubt, go slightly bigger as once you’ve cut your embroidered fabric it’s not easy to make it bigger.
If you’re also turning my polar bear or walrus embroidery pattern into an ornament, here’s a PDF that you can download and print to have the same sized cutting template as I used.
Making your embroidery ornament
Using your cutting template, cut out the front (your embroidery) and back fabric pieces. When cutting out the front piece, I made sure that my embroidery was centred.
Also cut your ribbon for the loop (or make a braid if you’re doing that). The length should be double the height you want for your loop plus 2cm for the seam allowance.
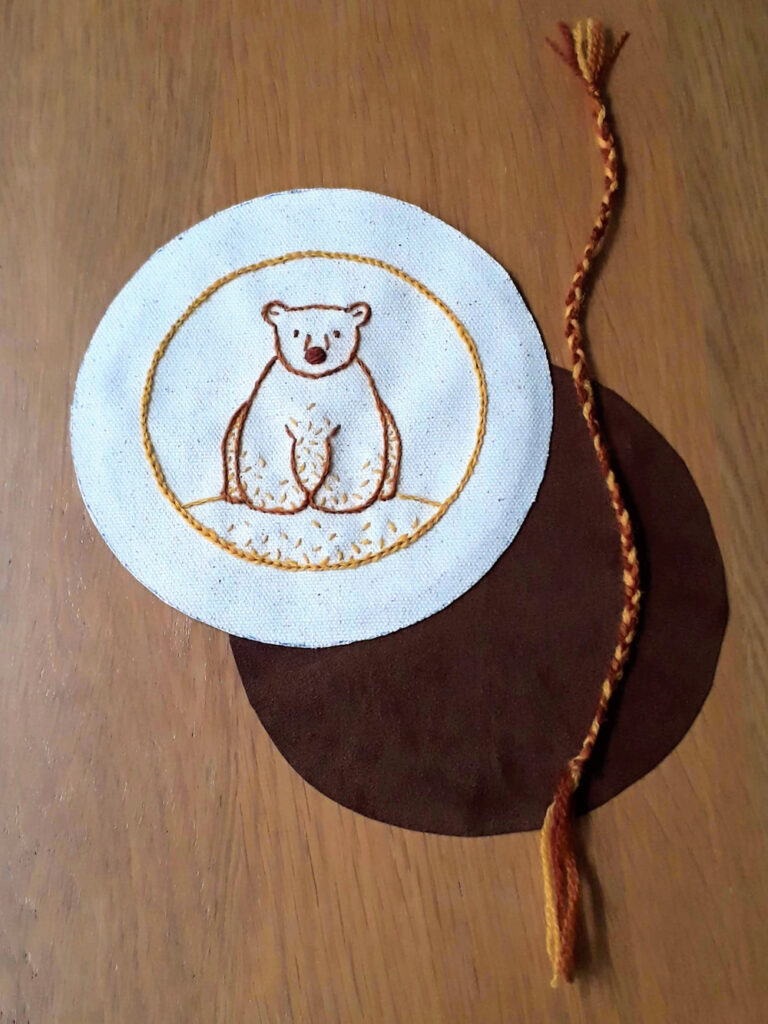
Fold your ribbon in half and position it at the top of your front fabric piece so that the ribbon’s cut ends line up with the top edge of your fabric. I like to tack/baste the ribbon in place.
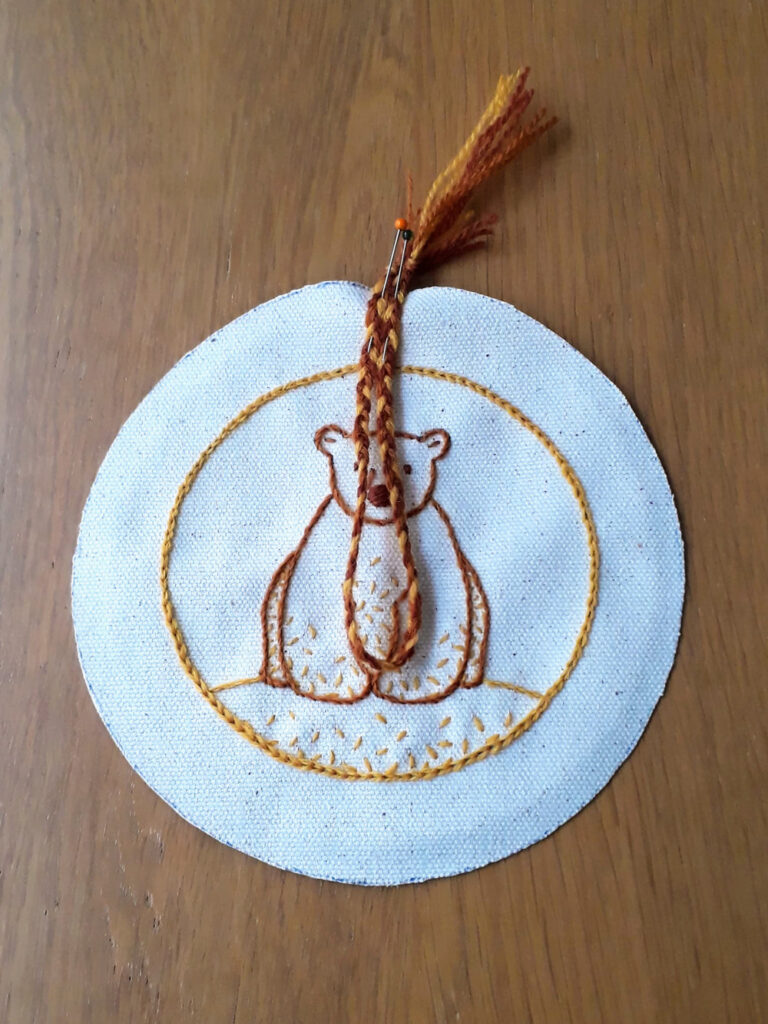
Now pin your front and back fabric pieces right sides together, lining up all the edges and ensuring your ribbon is sandwiched between them. If you ribbon is longer than the fabric, fold it so you won’t catch the loop when sewing up.
Using a couple of extra pins, mark the start and end of a gap around the edge that you’ll use to turn your ornament to the right side. For this bear ornament, I left a gap of about 6cm.
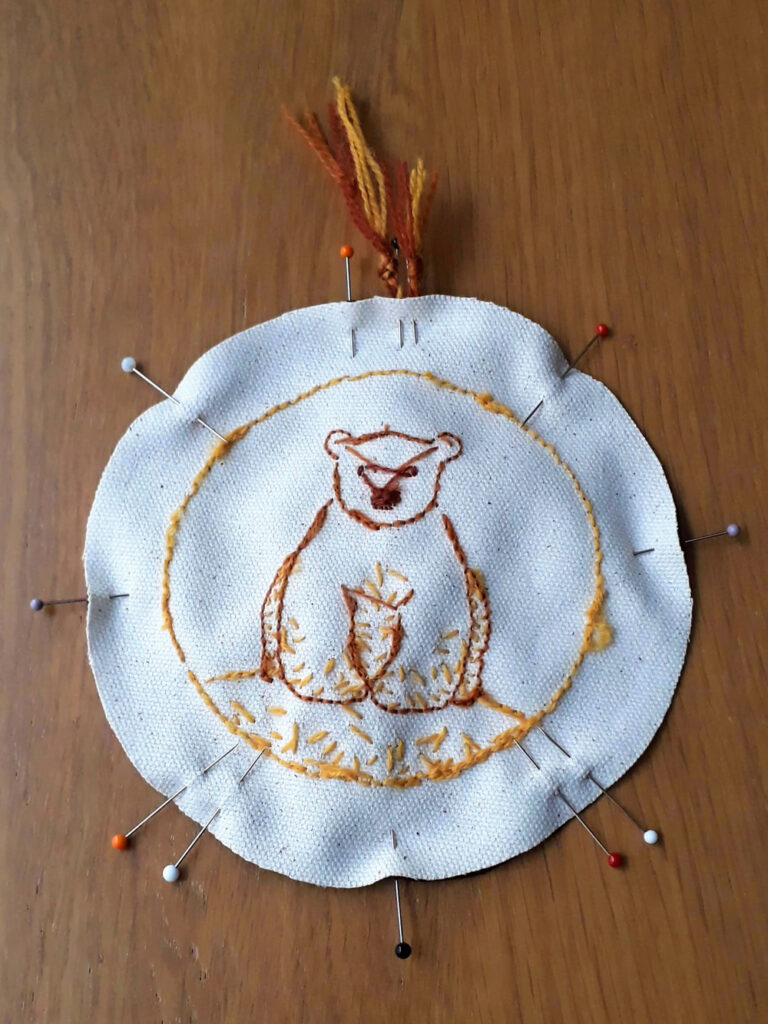
Sew your front and back fabrics together, leaving the gap you just marked unsewn.
I like to reinforce my ribbon at this point by making a few extra stitches into the seam allowance, to make sure it’s really secure.
TIP: If you’re sewing up a circle like me, the next stage can be easier if you mark the stitching line for closing up the gap. It’s easiest to do this now, while you’re fabrics are still flat.
If your ornament has curved edges, cut notches into the seam allowance. Take care to cut your notches close to, but not into, your sewn line.
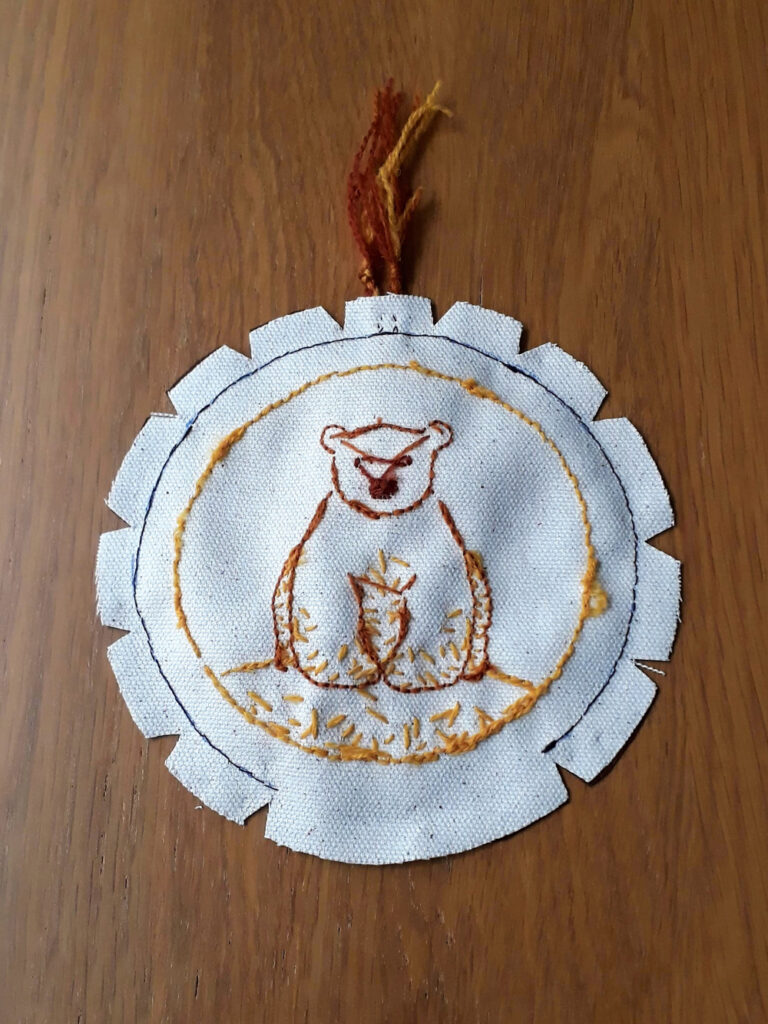
Carefully turn your ornament out to the right side through the gap.
Using your toy stuffing, fill your ornament, taking care to distribute the stuffing evenly.
With your sewing thread and hand sewing needle, slip stitch the gap closed. If the gap is around a curved edge, this is where having your stitching line already marked on your fabric can be really helpful!
Slip stitch
Slip stitch is a neat way of sewing two fabrics together so that you can’t see your stitching.
I find it easiest to stitch if my fabrics already have a crease where my stitching is going. So fold over your seam allowance and finger press the fabrics to create this.
Secure your thread with either a knot or a couple of small stitches into the seam allowance. Then bring your thread up through the crease of one of your fabrics.
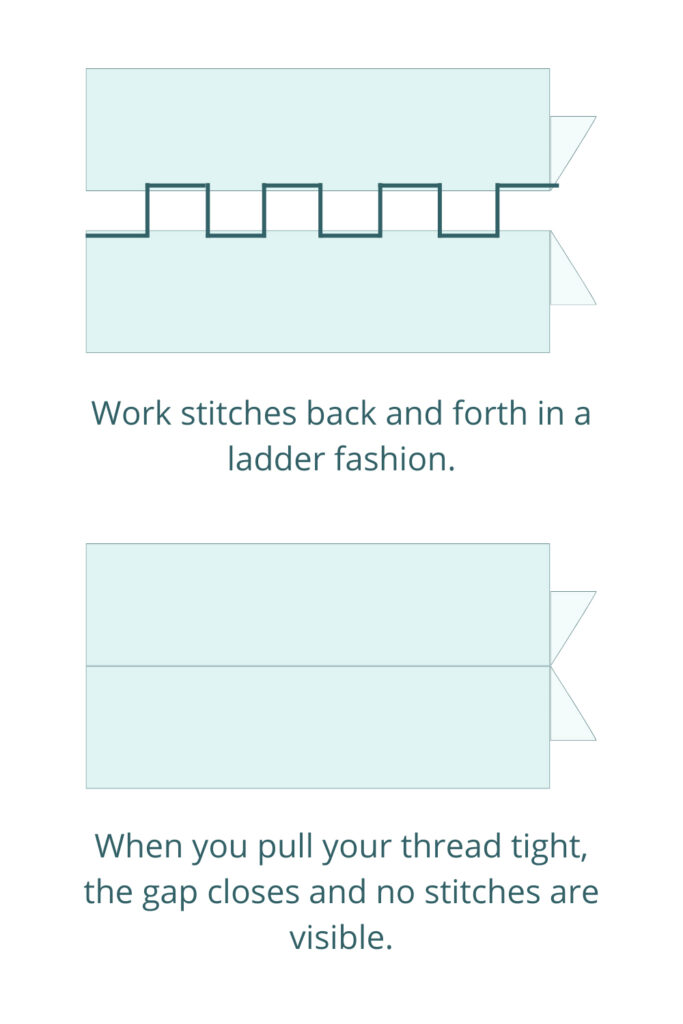
Making sure your front and back fabrics are aligned, take your needle into and out of the crease of your other fabric. By pulling your thread tight, you should close up a little bit of the gap between the two fabrics.
Still with the fabrics aligned along the stitching line, take your needle into and out of the crease of your first fabric to create your next stitch. Pulling the thread taut to close up a bit more of the gap.
Keep stitching in this ladder like fashion (this stitch is also known as ladder stitch), creating stitches through the creases to line up your two fabrics.
When you get to the end of the gap, make a couple of small stitches to secure your thread and fasten off.
Et voila!
You can give your ornament a bit of a prod and a squeeze if some of the stuffing needs redistributing.
Then hang up your finished ornament, sit back and admire your beautiful stitching!
Check out these embroidery patterns that work great as embroidery ornaments:
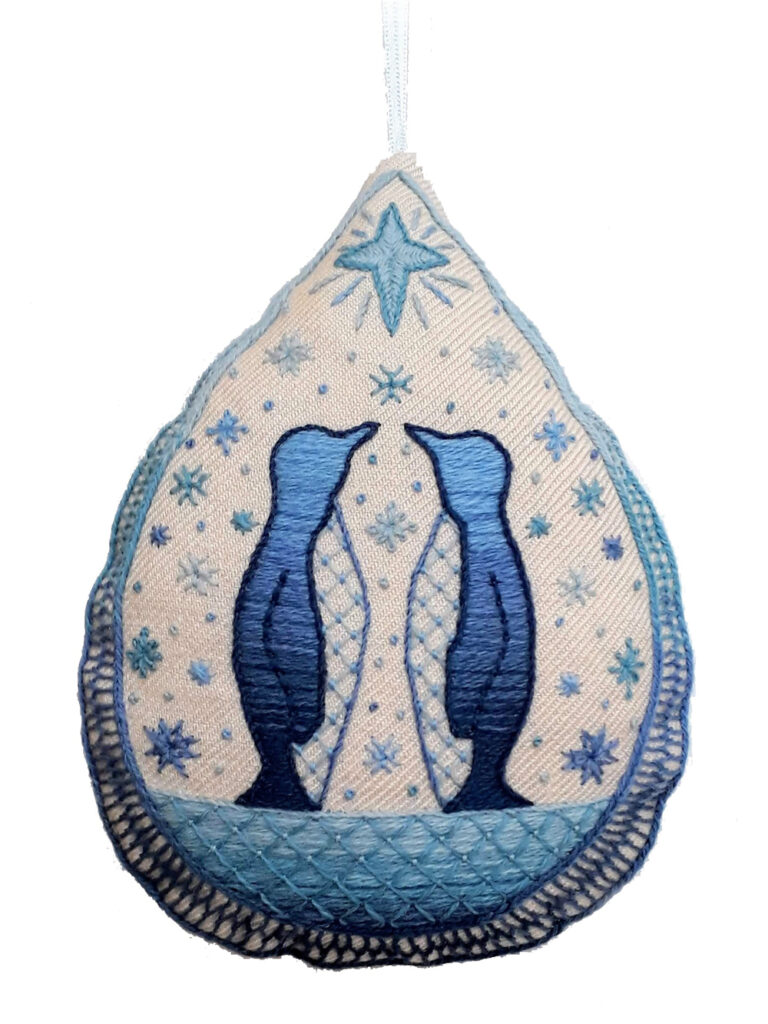
I designed this penguins ornament with Christmas in mind, taking inspiration from snow globes and elegant crystal designs. Turns out I like it so much that I keep it on display all year round!

You’ve seen in this tutorial that the bear/polar bear design works great as an ornament. The bear’s walrus companion works just as well! Using only three shades of thread, these designs are great stash busters and they can be stitched in any colours you like.
The polar bear and walrus patterns are also available along with a penguin companion in the self paced Introduction to Embroidery online course. This course includes plenty of tips and guidance broken down into bite sized video lessons.
I’m gradually making myself a colours of the rainbow collection of these cute animals!