
It’s been quite a while since I last posted about my Royal School of Needlework blackwork embroidery module. As it’s been quite a while since I’ve worked on it!
However, in the last few months I was able to get back to class again and my blackwork has now been handed in for assessment!
Woohoo! And phew!
In my last blackwork module post I focused on stitching the features of Bracken’s face. After that, I still had a fair bit of stitching to finish off the rest of his head and ear.
Shading Bracken’s head and body
For his head I felt it was important to really pay attention to the shading. For me, it’s such as important part of an effective blackwork embroidery. After all, it’s how I’d be able to get the depth and dimension in the embroidery that the assessors will be looking for. This did mean I had to do a little reverse stitching. But I think it was totally worth it.
By comparison, I found his far ear relatively easy to stitch since it was all black. So for much of it, I could simply get into the swing of stitching the pattern. I did of course need to pay closer attention around the edges to keep them soft. As well as giving the impression of the scruffier hair on his ears.
After I’d finished stitching his head, I felt like I was on the home stretch. I finished most of the rest of his body and the tops of his legs. Then I paused, thinking that it would be good to have a little bit more stitching to do when I next went to a class.

For one reason and another, my pause ended up being well over a year.
I went back to my first class in February. Optimistic that I’d be able to finish the little bit of stitching I’d left, stitch his whiskers, cut my board for mounting and get my blackwork embroidery approved for starting the mounting process.
A slight snag
Sadly that all proved a little too optimistic.
While I was stitching the last bits of his legs I noticed something funny with my previous stitching.
On closer inspection, I realised that some of the silk threads had snapped. Eek!
I got a little disheartened as I looked around the rest of my embroidery and found a few more.

My tutor had a good look at both the front and back of my embroidery, but couldn’t find a clue to suggest how this happened. Which at least gave me the mild reassurance that my stitching wasn’t to blame.
No matter the cause, I obviously couldn’t hand the embroidery in with broken threads showing on the front. So I started the process of unpicking.
A tip for unpicking
Thankfully my tutor showed me a way to secure short lengths of threads on the back so I didn’t have to unpick too far.

By using a lasso of thread in my needle, I could pull the short length of thread through the back of my previous stitching. This kind of lasso can also be used for pulling couched threads to the back, such as in goldwork.
Since the unpicking and securing of my threads was a slow process, I ended up spending most of my first lesson back doing that. By the end of the lesson my embroidery had a few gaps!
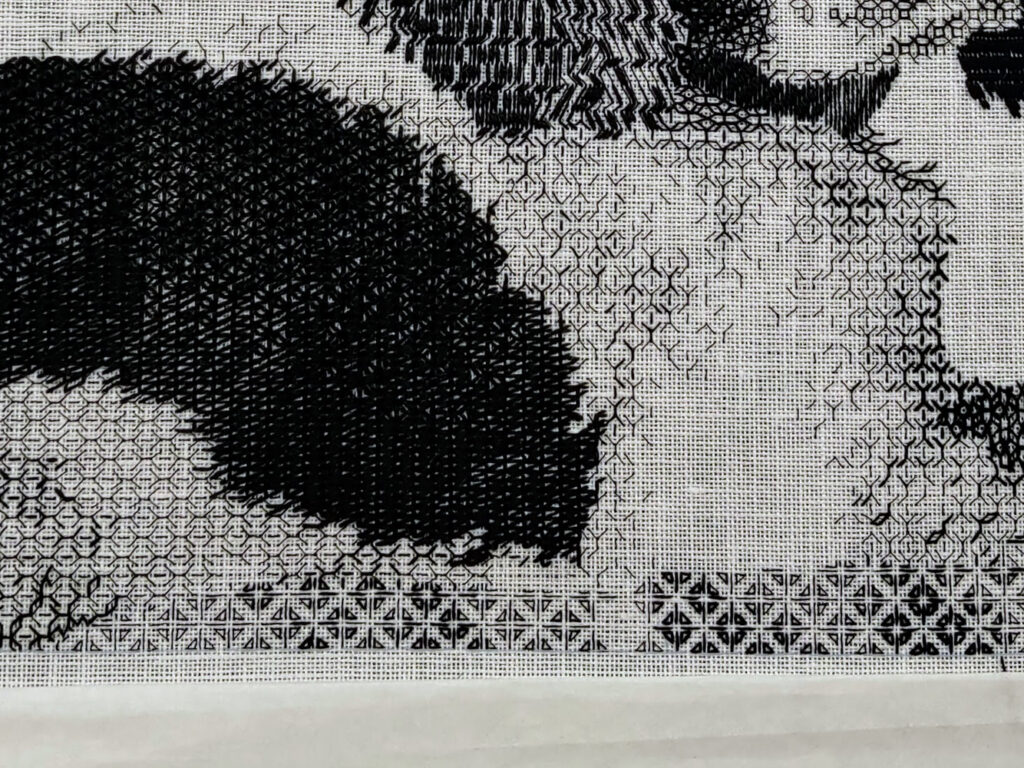
At home I finished stitching his legs and found even more broken threads to fix. It felt like each time I looked at it, I found more broken threads! So I was very keen to get my embroidery off the super tight slate frame.
The best explanation I’ve been able to find for what might have happened is that the silk thread can become brittle in a low humidity environment. And so with the high tension of the slate frame, it started to disintegrate.
Word of warning – don’t leave blackwork embroidery using silk thread on a taut slate frame for a couple of years!
Back on track with finishing touches
By my next lesson I’d had a couple of sessions at home looking for broken threads and fixing them. So thankfully during this lesson we were able to move ahead with the finishing touches.
For his whiskers, we contemplated a few different thread and stitch options. We settled on white regular sewing thread and long straight stitches.
First I stitched the longest whiskers. Then I went back and filled the spaces between them with some smaller stitches for softness.
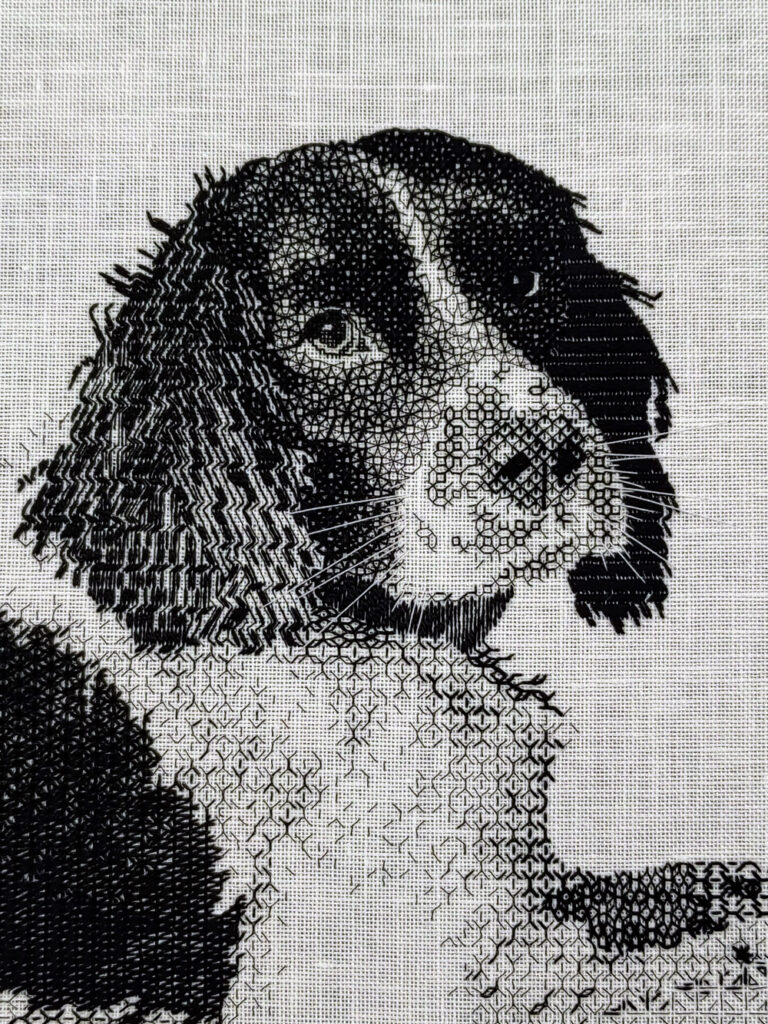
I think they really make him!
Mounting my blackwork embroidery
Finally, nearly 3 years since starting this project, I was given the go ahead to take my blackwork embroidery off the slate frame for mounting.
I added temporary lines of running stitch around the edge of my embroidery to help me position it on the grain when mounting. This definitely saved me time compared to all the adjusting I’d had to do for my crewelwork piece!
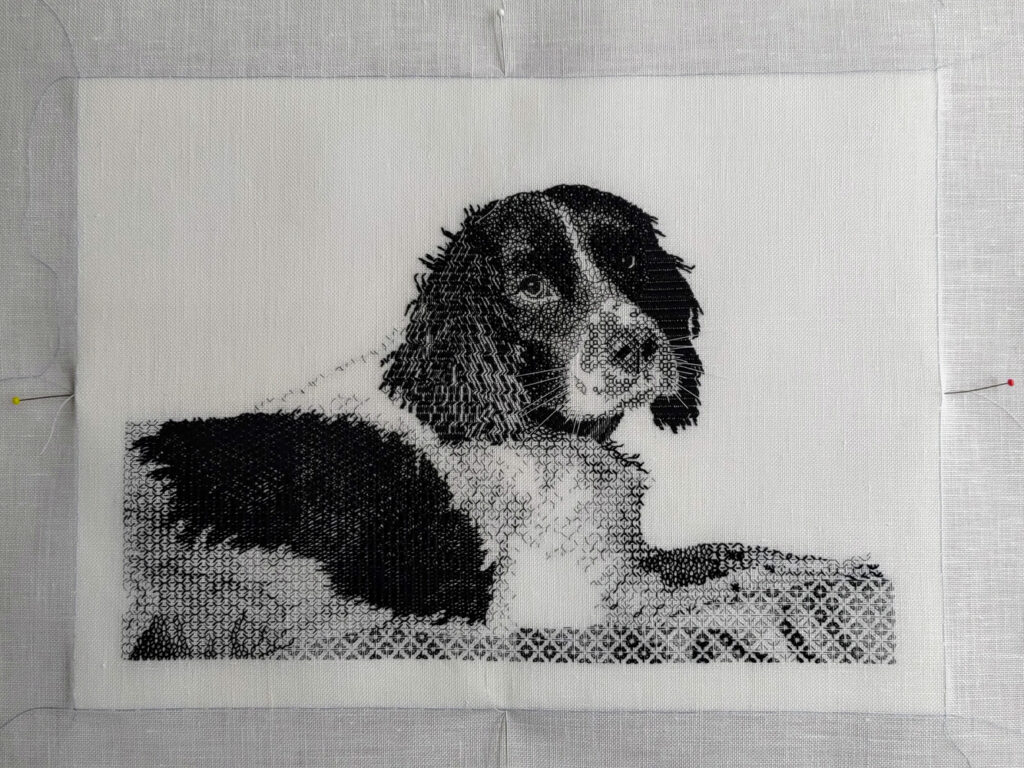
I got into the swing of using the curved needle fairly quickly this time. Mounting doesn’t seem very popular among my fellow students. But I found it quite mindful once I got into the swing of it.
Although, if I’m honest with myself, I know I could have done a bit of a better job with the backing fabric. The rebate wasn’t as even as I’d ideally like. However by this point I was ready to say good enough and move on!
Here’s my finished blackwork embroidery just before it was handed in for assessment.
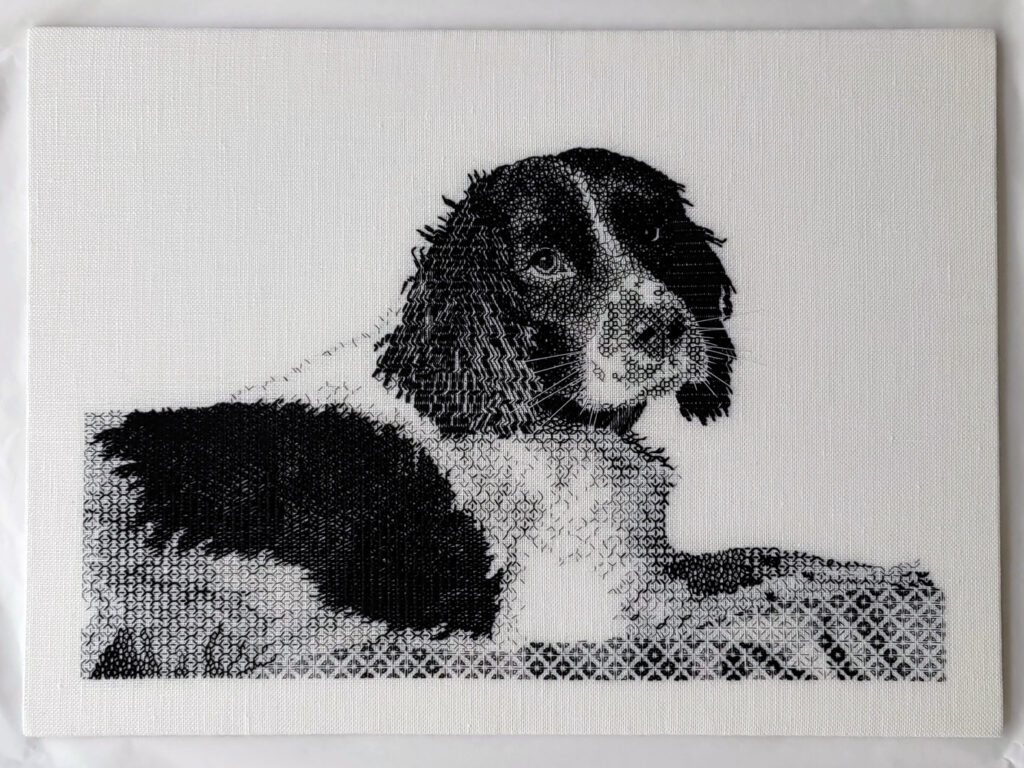
In case you’re wondering, Bracken is an English Springer Spaniel. If you like him, you can buy a greeting card of him in my shop!
I hope you’ve enjoyed following along with my progress on this RSN Certificate module! It took much longer than expected, but I’m very happy with how it turned out. Perhaps more importantly, Bracken’s parents feel I’ve captured a good likeness of him.
This marks the half way point in my RSN Certificate journey. Next up will be my botanical silk shading module!
Thanks for sharing. Such a wonderful portrait. I embroidered the puffin from the short course from the Royal School. Loved doing it. Seeing your beautiful piece has spurred me on to try something a little more challenging.
Thank you! I started with the puffin too, I thought it was a great introduction to the technique. Go for it and enjoy! I think it’s a very rewarding technique 🙂
Wow! You have done a fantastic and amazing piece. Bracken looks so realistic you could just hug him.
Thank you so much for sharing your experiences as you working on this piece, again its amazing. If you ever get the time to create a pattern please let me know.
Aww, thank you so much! I’m very happy to hear that you’ve enjoyed following along and that Bracken has a new friend 🙂
Awesome work. Have you thought about selling blackwork patterns similar to this one on your Etsy storefront?
Thank you Andrea! Yes, I’ve got a couple more blackwork patterns in the works so watch this space! This portrait really is a one of a kind with the way it was stitched, although I’m considering doing a simpler version and/or teaching how to create a portrait like this from your own image.
I love this! I had a Springer and the expression on Bracken’s face reminds me of my Pepper! You have done a lovely job.
Aww, thank you Carlie! Springers are such lovely dogs, it was totally worth all the effort to do Bracken justice in his portrait!